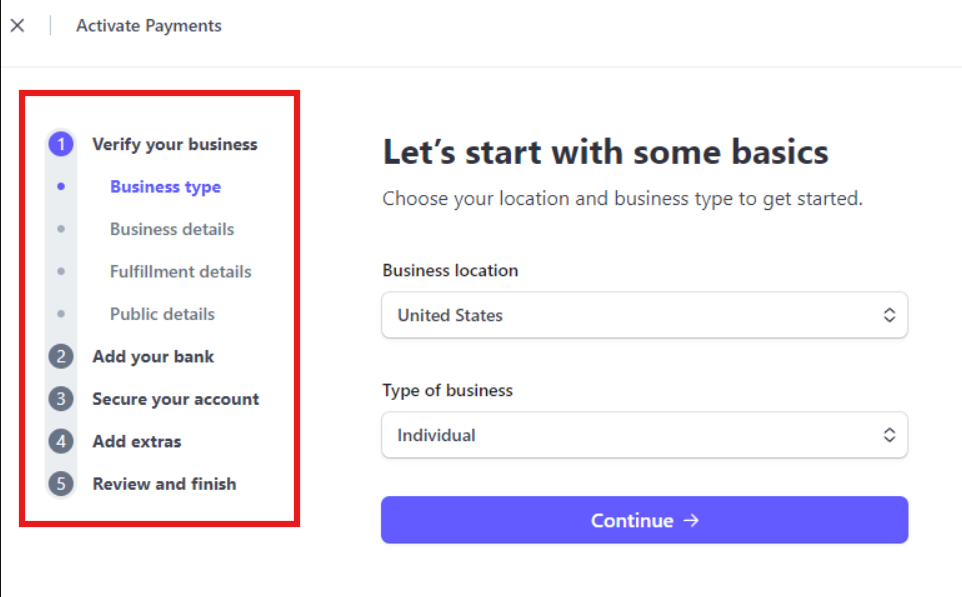
How to Set Up a Stripe Account
Already Have a Stripe Account?
If you already have a Stripe account that's payment active, you do not need to go through any setup procedures mentioned here. Your account is already active and ready to use. You can just skip these steps and contact us!
We suggest you use your laptop or PC. Mobile is also fine but only if you don't have a pc or laptop.
Browser: Chrome or Opera or Safari
Step 1: Visit Stripe’s Website
Go to Stripe.com and click the "Sign Up" button in the top-right corner of the page. You’ll be prompted to enter your email address, full name, and a password.
Choose a secure password. You’ll get a verification email from Stripe shortly after.


Step 2: Activating Your Stripe Payments Account
After that you will be brought to a page that looks something like this.
You’ll need to complete the activation of your account. You can do this by clicking on the Activate Payments at the top of the screen. Stripe will then walk you through a series of prompts.

After that you will be promted to a page like this

- Business type
Business location: Your Country of Citizenship
Type of business: Individual

- Personal Details
Fill this Up Using Your Personal Info
When setting up your Stripe account, it's important to provide accurate information. Below is what you’ll need to submit:
Legal Name: Enter your full, legal name as it appears on official documents.
Email: Use a valid email address that you check regularly for account-related communications.
Date of Birth (DOB): Provide your date of birth in the format required by Stripe (MM/DD/YYYY).
Home Address: Enter your current residential address, including street, city, state, and ZIP code.
Phone Number: Provide a phone number where you can be reached for account verification purposes.
Last Four Digits of Social Security Number (SSN): Stripe requires the last four digits of your Social Security number to verify your identity.
Double-check all information before submitting to ensure everything is accurate. This helps avoid delays in the verification process and ensures that your account functions properly.

- Business Details:
Industry: Select one of the category from below:
Clothing and Accessories
Beauty Products
Home Goods and Furniture
Other Merchandise
Business Website: Your Instagram or Facebook Profile Link (must be yours): Share the link to your Instagram or Facebook profile.
Product Description: Describe the customized products related to the industry you’ve chosen. For example, if you selected "Clothing and Accessories," you could say, "We specialize in custom-designed clothing and accessories that reflect individual style and preferences.

- Public details:
Statement Descriptor:
[Custom...] Keep it Custom...
[Your business name] Your own name
Shortened Descriptor: (Optional):
No need to fill it up.
Customer Support Phone Number:
Your personal number.
Customer Support Address:
This address is the same as your home address.


- Add your bank:
. Bank details
Choosing the Right Bank:
If you have a Cash App card, consider using its routing and account numbers for the best setup.
Otherwise, use your regular day-to-day bank account that supports your business transactions.
Setting Up Bank Details for Automatic Payouts:
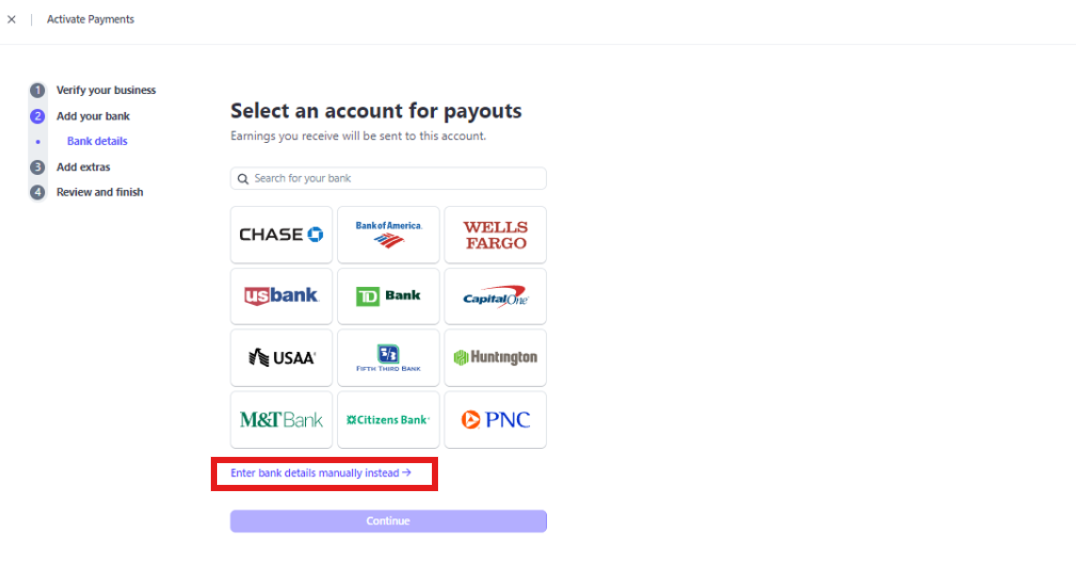
Enter Bank Details Manually:
Click on "Enter bank details manually instead"
Enter Routing Number and Account Number:
Input your routing number and account number.
Confirm your account number and click "Submit."
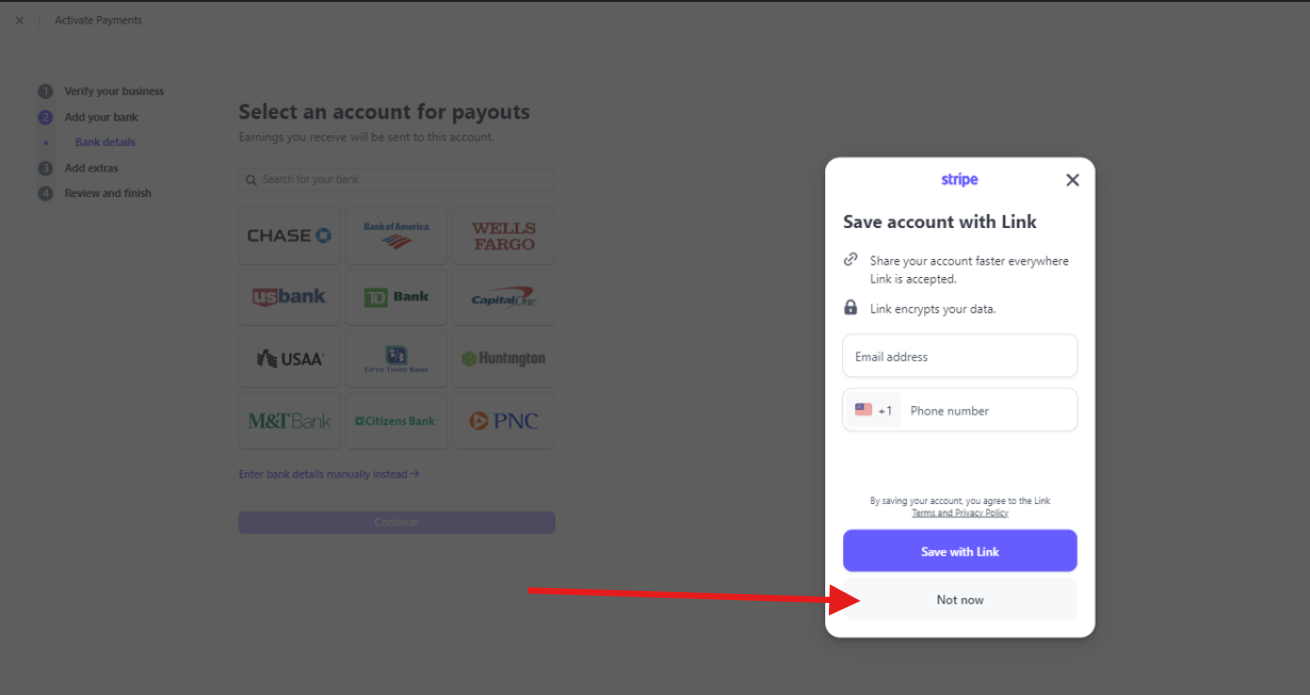
Save Account with Link (Optional):
Click "Not Now" if prompted to save the account with a link.
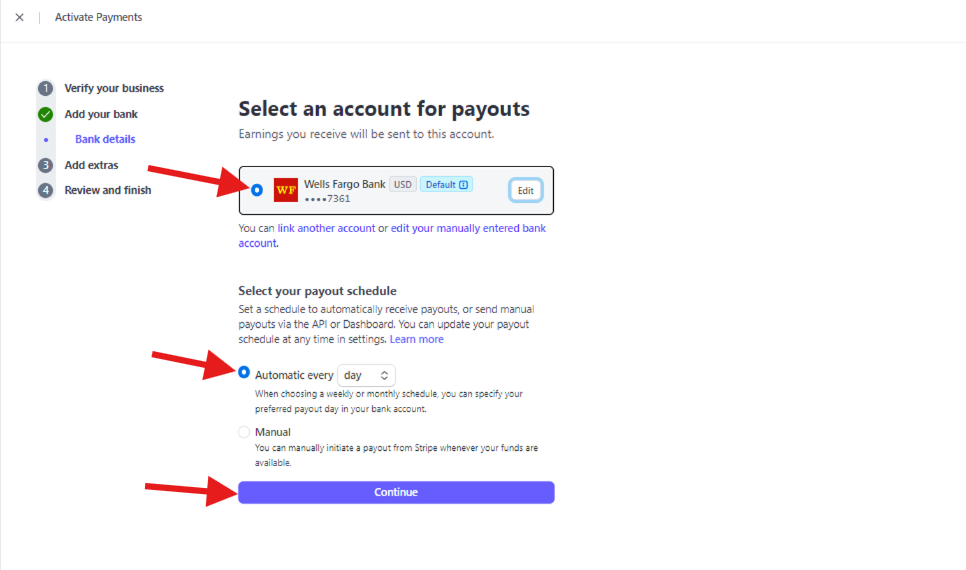
Select an Account for Payouts:
Choose the bank account you just added.
Set Payout Schedule:
Click on "Automatic every day" for the payout schedule.
Ensure this aligns with your preferences and business needs.
Continue:
Click "Continue" to finalize and save your bank account settings.


Add extras
Automated Tax Collection on Your Sales:
- You should "skip for now" for this section.
Climate Contribution:
- Also skip this section by clicking on "No thanks".

- Summary:
Setup Two-Factor Authentication:
Stripe requires users to secure their accounts with two-step authentication. Follow these steps to set it up:
Choose Your Authentication Method:
- Select one of the following options:
- SMS text
- Mobile authenticator app (e.g., Google Authenticator, Authenticator Plus, Duo Mobile)
- Security key (e.g., touch ID)
Note: For enhanced security, it’s recommended to avoid SMS text if you have concerns about account security.
- Select one of the following options:
Complete Two-Factor Authentication Setup:
- Depending on your chosen method, follow the prompts to set up and verify your authentication.
Review Your Account Summary:
- After setting up two-factor authentication, review the summary of your account details.
Confirm and Activate Your Stripe Payments Account:
- If everything looks correct and you’re satisfied with the setup, confirm to finalize and activate your Stripe Payments Account.
After you have set up the stripe account. Please reachout to us.